
OpenCV (Open Source Computer Vision Library) is an open-source computer vision and machine learning software library. OpenCV was built to provide a common infrastructure for computer vision applications and to accelerate the use of machine perception in commercial products. Being a BSD-licensed product, OpenCV makes it easy for businesses to utilize and modify the code.
Source – OpenCV
In this tutorial, we will explain the step-by-step process to install OpenCV on Ubuntu 20.04 Linux.
The easiest way to installing OpenCV on Ubuntu system is to install from Ubuntu repository using the apt package management tool. Here we have explained the OpenCV installation process using two methods, one is using Ubuntu repository, and another one is using source.
You can choose any methods out of these two, which works best for you.
Install OpenCV using Ubuntu Repository
The OpenCV package is available on Ubuntu repository, so only you need to do is to install using apt command after updating the apt package lists, as shown below:
$ sudo apt update
$ sudo apt install python3-opencv
After installation of OpenCV you can verify it by importing cv2 module and print the OpenCV version as shown below:
python3 -c "import cv2; print(cv2.__version__)"Output:
3.2.0The above commands we use to install OpenCV for Python3 if you want to install OpenCV for python2 use installation command with python-OpenCV.
Install OpenCV using the source on Ubuntu
If you want more control on OpenCV builds, go for the source installation process for OpenCV.
You can follow below steps to install the latest OpenCV using the source:
Step 1 – As we are going to build our own OpenCV on the system need to install all required dependencies on the system, you can use the following command to install OpenCV dependencies:
$ sudo apt install build-essential cmake git pkg-config libgtk-3-dev \
    libavcodec-dev libavformat-dev libswscale-dev libv4l-dev \
    libxvidcore-dev libx264-dev libjpeg-dev libpng-dev libtiff-dev \
    gfortran openexr libatlas-base-dev python3-dev python3-numpy \
    libtbb2 libtbb-dev libdc1394-22-dev
Step 2 – Now make a clone of OpenCV’s and OpenCV contrib repository from git to your system.
$ mkdir ~/opencv_build && cd ~/opencv_build
$ git clone https://github.com/opencv/opencv.git
$ git clone https://github.com/opencv/opencv_contrib.git
The above command will install the latest available version from Github, If you want to install a different version from git hub need to enter in both OpenCV and opencv_contrib directories and run git checkout <opencv-version>
Step 3 – After completing the download of the package, create a build directory and enter into the directory, as shown below:
$ cd ~/opencv_build/opencv
$ mkdir build && cd build
You can set up the OpenCV build using the CMake:
$ cmake -D CMAKE_BUILD_TYPE=RELEASE \
-D CMAKE_INSTALL_PREFIX=/usr/local \
-D INSTALL_C_EXAMPLES=ON \
-D INSTALL_PYTHON_EXAMPLES=ON \
-D OPENCV_GENERATE_PKGCONFIG=ON \
-D OPENCV_EXTRA_MODULES_PATH=~/opencv_build/opencv_contrib/modules \
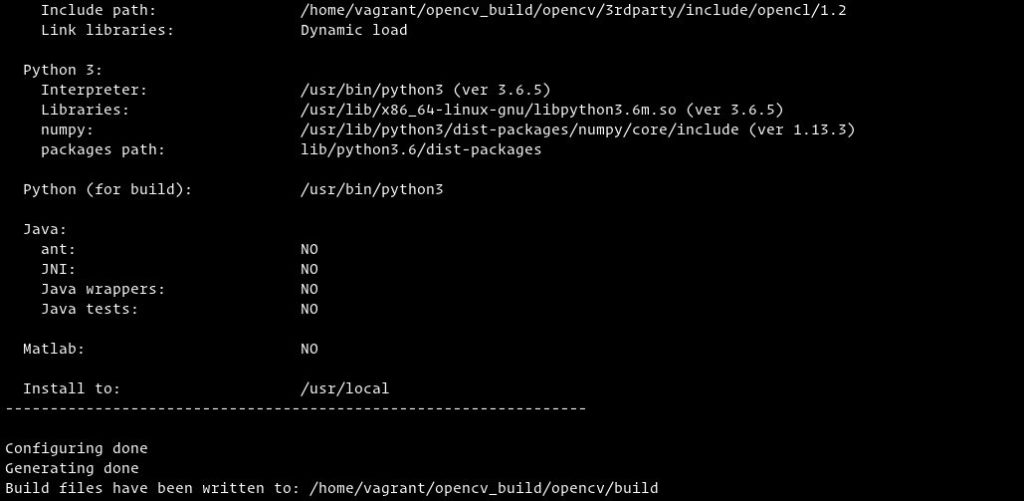
-D BUILD_EXAMPLES=ON ..When CMake build the system, you will get the output on your screen similar to below:
Step 4 – Now start compilation process for the latest build using makes the command, as shown below:
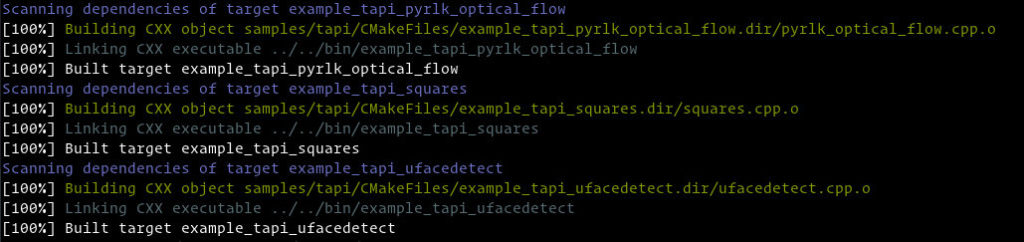
$ make -j8You can modify the –j parameter according to your system processor if you don’t have an idea how many processors in your system you can check it by nproc.
The compilation will take time depending on your system configuration and performance, Once it gets completed your screen will be shown output similar to below screen:
Step 5 – Now, after compile, you can install OpenCV only using the make command, as shown below:
$ sudo make install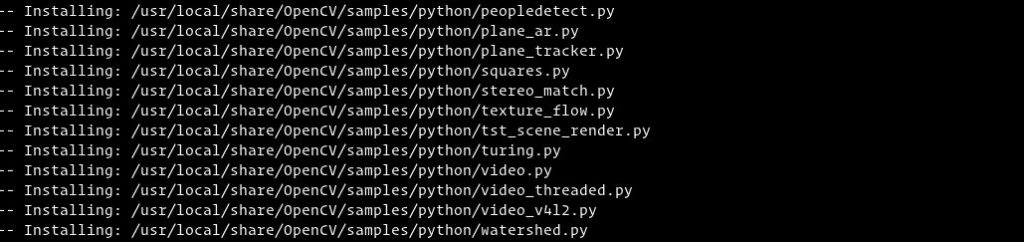
Step 6 – You can verify the OpenCV successfully installed in your system by checking the version of installed OpenCV:
$ pkg-config --modversion opencv4Output:
4.2.0python3 -c "import cv2; print(cv2.__version__)"Output:
4.2.0-devConclusion
You learned two different ways to install OpenCV in your Ubuntu 20.04 System. You can also verify the installed version of OpenCV and learn how to compile and build OpenCV from the source.
If you get any issue on OpenCV installation or having feedback, please comment below.
0 Comments