
The hostname is known as the system’s identifier, which is set at the time when we are installing the CentOS operating system.
This tutorial will explain setting the hostname for your system or virtual machine after CentOS 8 installation.
Prerequisites
Before going through with this tutorial, make sure your system has CentOS 8 Linux installed and have user access with sudo privileges to execute administrative commands.
Display the Current Hostname
To check the current hostname on the CentOS system, use the hostnamectl command as shown below:
$ hostnamectl Static hostname : satishsystem
Icon name : satish-vm
Chassis : vm
Machine ID : 6f17445f53074505a008c9abd8ed64a5
Boot ID : 1c769ab73b924a188c5caeaf8c72e0f4
Virtualization : kvm
Operating System : CentOS 8
Kernel : Linux 4.15.0-22-generic
Architecture : x86-64You can see in the above output; the current hostname is set to the satishsystem.
Change the Hostname
To set the new hostname for your CentOS 8 system, use the following steps.
Method 1 – Change hostname using hostnamectl command.
You can change the hostname in CentOS 8 using the hostnamectl command.
For example, we can change the system static hostname to linuxconcept by using the following command:
$ sudo hostnamectl set-hostname linuxconceptThe command hostnamectl does not return any output on success. It returns 0 on success or failure code on failure results.
Method 2 – Change hostname using nmtui command
The command nmtui provide the user interface for NetworkManager, which we can use to configure many things related to Networking, including hostname.
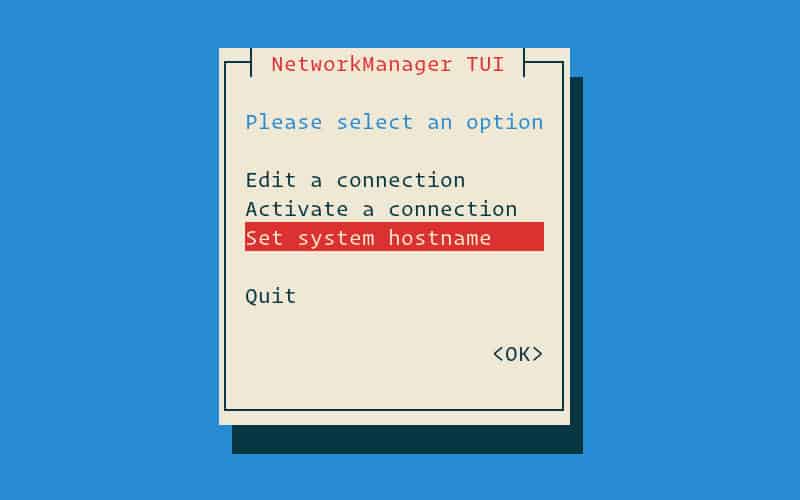
You can start NetworkManager using nmtui command, as shown below:
$ sudo nmtuiWhen you get the GUI of NetworkManager, navigate and select Set system hostname option using arrow keys:
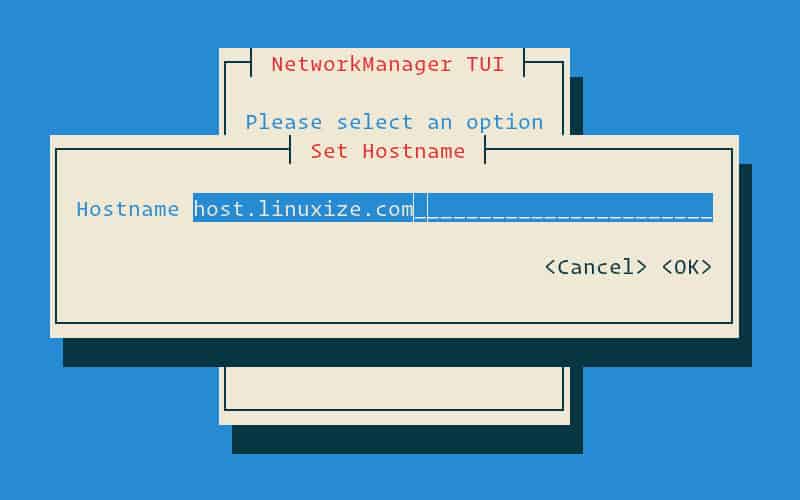
Now, set your new hostname:
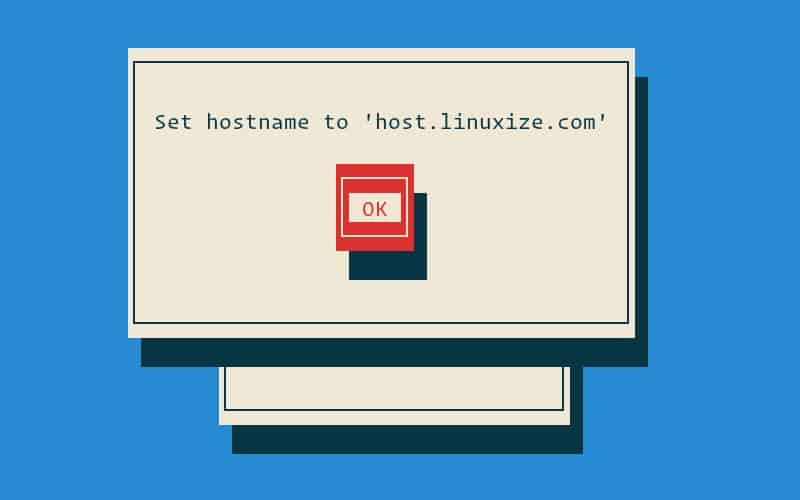
Hit Enter button to confirm new hostname changes:
After setting the hostname restart the system-hostnamed service to take new hostname affected, as shown below:
$ sudo systemctl restart systemd-hostnamedMethod 3 – Change Hostname using nmcli command
You can use nmcli command in the place of nmtui command; the only difference is nmtui provides you GUI interface, and nmcli offer you with the command-line interface for NetworkManager.
As you know, we are not using GUI interface on Server operating system, so nmcli is an essential command to configure network including hostname on servers.
You can use the nmcli command to check the current hostname, as shown below:
$ sudo nmcli general hostnameYou can use nmcli command to change the hostname, as shown below, we are changing the hostname to host.linuxconcept.com:
$ sudo nmcli general hostname host.linuxconcept.comAfter changing the hostname only need to restart system-hostnamed service to take new hostname affected, as shown below:
$ sudo systemctl restart systemd-hostnamedVerify new hostname after change
You can verify the hostname has changed in your CentOS system by checking hostname using the hostnamectl command, as shown below:
$ hostnamectlYou will get your new hostname on the output screen.
 Static hostname : host.linuxconcept.com
       Icon name : satish-vm
         Chassis : vm
      Machine ID : 6f17445f53074505a008c9abd8ed64a5
         Boot ID : 1c769ab73b924a188c5caeaf8c72e0f4
  Virtualization : kvm
Operating System : centos 8
          Kernel : Linux 4.15.0-22-generic
    Architecture : x86-64
Conclusion
Now, you have learned to change the hostname for your installed CentOS 8 Linux server or system without restarting the system.
If you get any problem with changing the hostname of your system, please leave a comment below.
0 Comments