If you are a little bit confuse to choose between OpenJDK and Oracle Java, you can stick with default OpenJDK available on Ubuntu 18.04.
In this tutorial article, we will walk through the Java installation process on Ubuntu 18.04 machine.
Prerequisites
Before continuing this tutorial, make sure you have Ubuntu 18.04 installed machine and a user to login into the system with sudo privileges.
OpenJDK 8 installation on Ubuntu 18.04
OpenJDK 8 is available in Ubuntu 18.04 Operating system as a default JDK.
To install OpenJDK 8 into Ubuntu 18.04 machine, use the following command:
$ sudo apt update
$ sudo apt install default-jdk
After completion of JDK installation you can verify it by checking the version of Java, as shown below:
$ sudo java –versionIf OpenJDK installed you will get the output like below image:

Now OpenJDK 8 is installed successfully into your Ubuntu 18.04 machine.
OpenJDK 11 Installation on Ubuntu 18.04
The latest version of Java 11 is not available with default repository of Ubuntu 18.04 operating system. The OpenJDK 11 is available with Backports repository of Ubuntu.
$ echo 'deb http://ftp.debian.org/debian stretch-backports main' | sudo tee /etc/apt/sources.list.d/stretch-backports.list
After adding the repository, update the apt repository package list and install OpenJDK 11 by using the following command:
$ sudo apt update
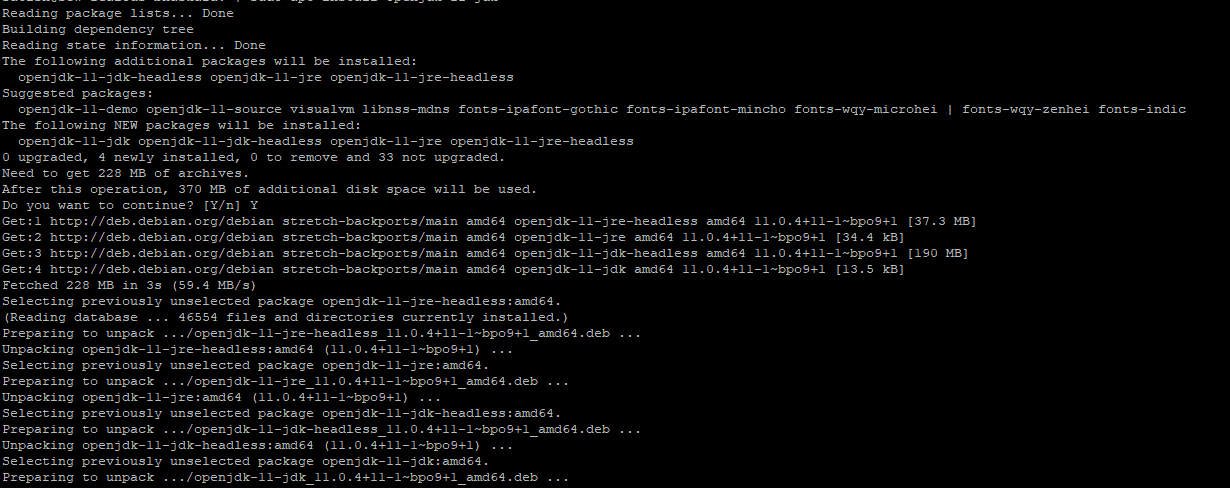
$ sudo apt install openjdk-11-jdk
Oracle Java Installation on Ubuntu 18.04 Linux
You can follow below steps to install Oracle 11 on Ubuntu 18.04.
Step 1 – Install dependencies
$ sudo apt install dirmngr gnupgStep 2 – Import PPA key and enable the repository
$ sudo apt-key adv --keyserver hkp://keyserver.ubuntu.com:80 --recv-keys 73C3DB2A
$ echo 'deb http://ppa.launchpad.net/linuxuprising/java/ubuntu bionic main' | sudo tee /etc/apt/sources.list.d/linuxuprising-java.list
Step 3 – Install Oracle Java 11
$ sudo apt update
$ sudo apt install oracle-java11-installer
You will get the screen to accept Oracle license, accept and Java will install.

Step 4 – Verify Java Installation
$ java –version
Java default version Setup
$ java -versionThe output of the above command will look like below image:

You can change the default Java version by using “update-alternatives” command, as shown below:
$ sudo update-alternatives --config java
You will get the list of all installed Java version on your Ubuntu machine, Enter the number of the version you want to use as a default and press Enter button.
Java Uninstall
$ sudo apt remove default-jdk

0 Comments