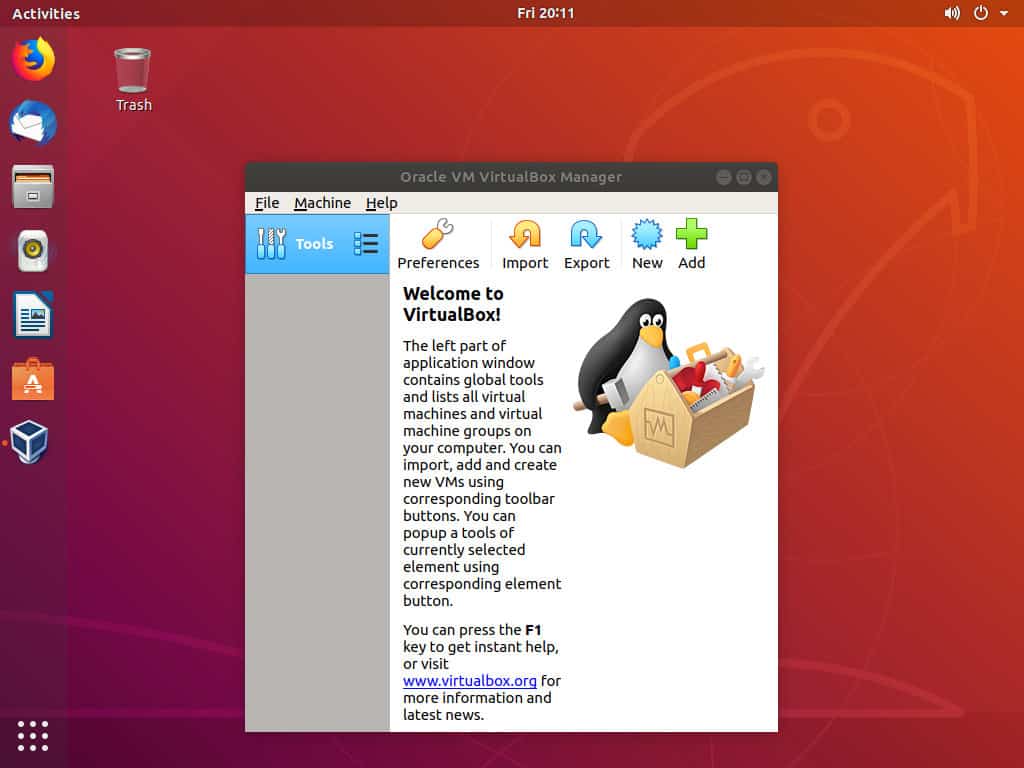
VirtualBox is an Open Source tool, known as a cross-platform virtualization application or software. It used to run multiple operating systems or virtual machines simultaneously on a single hardware.
In this VirtualBox installation tutorial, we will explain the process to install VirtualBox in Ubuntu 20.04 machine using two different methods. The first method describes the steps to install the latest version of VirtualBox from the Ubuntu repository. The second method will explain the steps to install VirtualBox from the Oracle repository.
The VirtualBox package is available in the Ubuntu repository, which may is not always the latest version of VirtualBox, as it updated on a time interval. However, if we want to install the latest version of VirtualBox, always use to Oracle repository.
The same instruction will apply to any other Ubuntu-based distribution like Linux Mint and Elementary OS.
Prerequisites
Before starting this tutorial, make sure you have Ubuntu 20.04 Linux installed and having user access with sudo privileges to execute administrative commands.
Installing VirtualBox from Ubuntu Repository
The VirtualBox installation using the Ubuntu repository is very straightforward like any other application; just run the following command to install VirtualBox on Ubuntu system:
$ sudo apt update
$ sudo apt install virtualbox virtualbox-ext-pack
Installing VirtualBox on Ubuntu using Oracle Repository
You can check the VirtualBox download page to get the latest version of VirtualBox available. It will help you to get the latest version of VirtualBox on your Ubuntu System.
You need to follow the following steps to install the latest version of VirtualBox from the Oracle repositories:
Step 1 – In the first step, we need to import GPG keys of the Oracle VirtualBox repository to your Ubuntu system by using the wget command, as shown below:
$ wget -q https://www.virtualbox.org/download/oracle_vbox_2016.asc -O- | sudo apt-key add -
$ wget -q https://www.virtualbox.org/download/oracle_vbox.asc -O- | sudo apt-key add -
The above mention both command should give the output “OK,” which gives you confidence that the keys successfully imported.
Step 2 – Now, after importing the GPG key, need to add the VirtualBox APT repository in your Ubuntu system using the add-apt-repository command as shown below:
$ sudo add-apt-repository "deb [arch=amd64] http://download.virtualbox.org/virtualbox/debian $(lsb_release -cs) contrib"Suppose you are getting any error like the add-apt-repository command not found. In that case, it means you need to install another package first, which is known as software-properties-common.
Step 3 – Once the VirtualBox’s Oracle repository gets enabled in your Ubuntu system. You can install VirtualBox like any other application after update the apt package list as shown below:
$ sudo apt update
$ sudo apt install virtualbox-6.0
Installing VirtualBox Extension Pack
The VirtualBox Extension pack is use to enable several useful functionalities for a guest operating system or virtual machines such as USB device support, RDP support, and many more.
You can download VirtualBox Extension pack files by using the following command:
$ wget https://download.virtualbox.org/virtualbox/6.0.0/Oracle_VM_VirtualBox_Extension_Pack-6.0.0.vbox-extpackYou only make sure to match the version of the extension pack with installed VirtualBox.
After completion of the extension pack file download, need to import the extension pack using the following command:
$ sudo VBoxManage extpack install Oracle_VM_VirtualBox_Extension_Pack-6.0.0.vbox-extpackYour screen will be prompted with Oracle license with accepting their terms and condition, as shown below:
Output:
Do you agree to these license terms and conditions (y/n)?
You should type “y” and hit the Enter button; after completion of VirtualBox installation, your screen will give you the following output:
Output:
0%...10%...20%...30%...40%...50%...60%...70%...80%...90%...100%
Successfully installed "Oracle VM VirtualBox Extension Pack".
Starting VirtualBox
There are two ways to start VirtualBox; one is to using command by typing the command “VirtualBox.” Another one is to click on the VirtualBox icon using GUI, which appears in the Activities -> Oracle Vm VirtualBox.
When you start VirtualBox first time in your Ubuntu system, you will get the output screen similar to the below one:

Conclusion
Using this tutorial article, you have learned to install VirtualBox on your Ubuntu 20.04 Linux machine using the Ubuntu repository and Oracle VirtualBox repository. You can learn more about the VirtualBox using the official VirtualBox Documentation page.
If you have any issue in installing VirtualBox or having any feedback, please leave a comment below.


0 Comments