
Nowadays Linux operating system’s popularity is increasing. Most of the servers are using the Linux Operating System, and personal system also start using various Linux distribution. RedHat is one of the popular and leader Linux operating systems.
These days most of the IT professionals learning Linux, as their work environment around Linux based open source and free operating system.
As per my experience, when you are learning anything and for a silly mistake, you are going to format the entire system and reinstall, again and again, the learning period going to be very frustrating and bored.
So, I am suggesting you to at learning time use a virtual environment to configure any Linux and use if any mistake will happen you need to reinstall the only virtual machine, not the system. Or you can keep the previous virtual machine for your experiment to learn to troubleshoot the problem and parallelly you can run new vm to move your learning ahead.
Here, in this article, I am going to explain “How to install RedHat 7 Linux (RHEL 7) in VMware workstation?”. You can use any other virtual environment also like Virtualbox, VMware Player, KVM, etc.
Prerequisites – RedHat 7 (RHEL 7) Linux installation
RedHat 7:
Download RedHat 7 from here.
Virtual Environment:
Download VMware Workstation from here.
Download VMware Player from here.
Download Virtualbox from here.
Anyone application is enough for a virtual environment, I am going to use here VMware Workstation, but the overall process of installation is the same for all virtual environment package.
Installing RedHat 7 (RHEL 7) in VMware Workstation
Let’s start to install RHEL 7 into VMware Workstation.
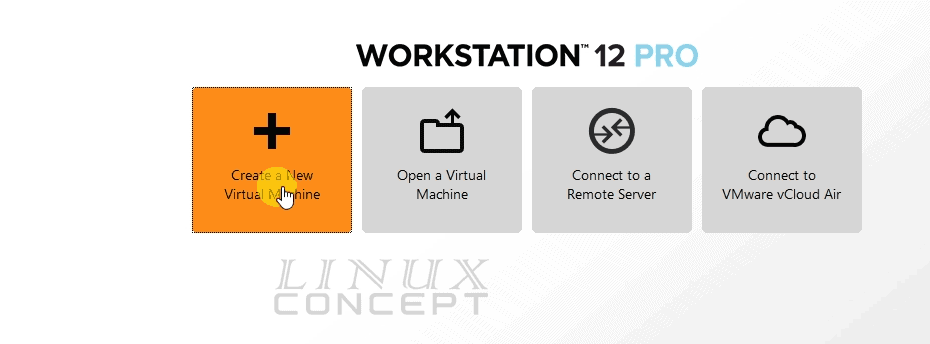
First open the VMware workstation, which will look like the below image.
Here click on “Create a New Virtual Machine” to start the process of virtual machine creation.
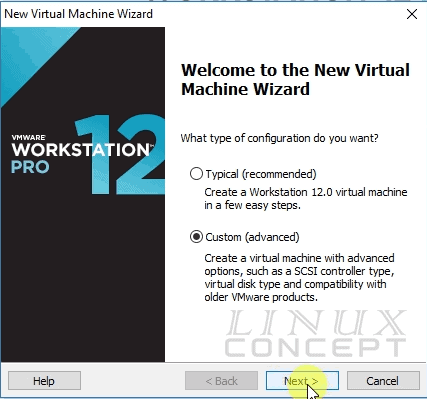
The next screen you will get a starting wizard for a new virtual machine.
Select “Custom (advanced)” option here and click on the “Next” button for further process.
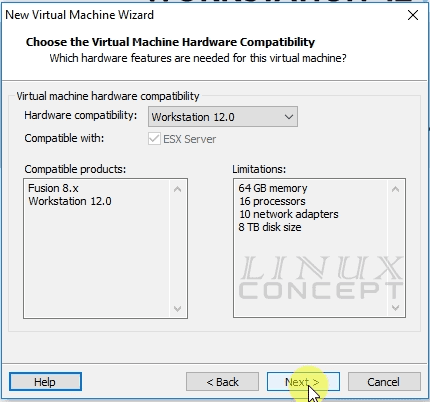
Now you will get the option to choose hardware compatibility for your virtual machine in the new window.
I choose here “Workstation 12.0” as I am using version 12.0 for VMware Workstation, you can choose your Workstation version and click on the “Next” button for further process.
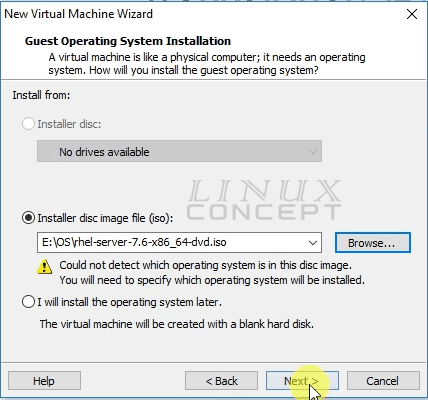
The new screen will appear to choose Operating System installation media.
There are three options:
• Installer disc
• Installer disc image file (iso)
• I will install the operating system later.
The first option is for CD/DVD driver, when you are going to use host machine’s CD/DVD ROM for installing Operating System, should use this option and insert OS disc into the ROM.
The second option is for virtual ROM; If you don’t want to use physical ROM driver and having ISO image of Operating System, you should choose this option and click on “Browse” button to select your ISO file.
The last option you can use when you want to create a virtual machine environment, and planned to install OS later.
I choose here the second option “Installer disk image file” and select RHEL 7.6 image file.
Now, click on the “Next” button for further process.
In this screen, you need to choose your desired OS family.
I am going to install RHEL 7 which is comes from Linux family, So I choose “Linux” here and click on the “Next” button.

Now the next window appears for the naming of Virtual machine.
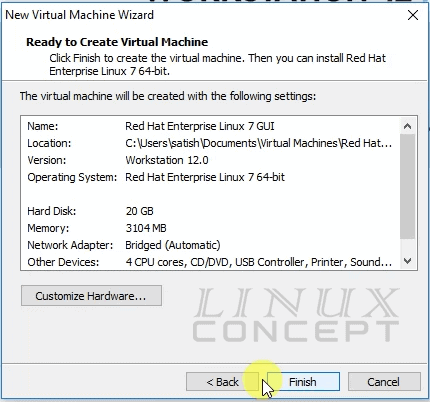
I mentioned here “Red Hat Enterprise Linux 7 GUI” for my virtual machine name.
You can give your virtual machine name whatever you want, but I suggest to provide the name which can be easily identifiable when you have lots of virtual machines.

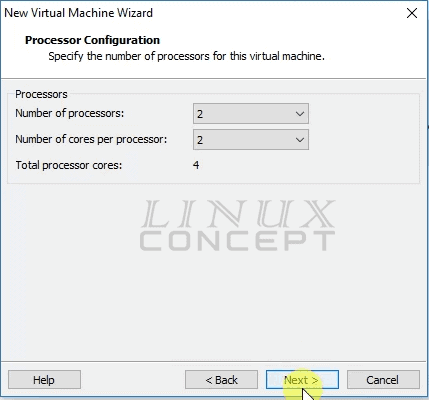
This is the time for configuring CPU for your virtual machine.
You can choose “Number of processors” and “Number of cores per processor” for your virtual machine.
I build here dual core 2 processor, so the total CPU is 4 for my virtual machine.
You can choose as per your requirement.
A number of the processor is dependent on the physical processor in your hardware; you can’t build your virtual machine with more than physical processors.
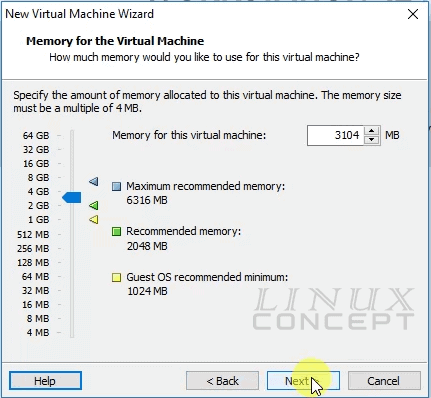
The next screen will come to configure RAM for your virtual machine.
It will show three recommendation here:
• Maximum recommended memory
• Recommended Memory
• Guest OS recommended minimum
The first recommendation is showing; you can’t configure more than that for your virtual machine. It is dependent on your hardware configure memory. It displays this amount after reducing memory which is for the host machine.
Second is recommended from VMware, as it is good to go with any virtual machine for common work.
The third recommendation is from the Guest Operating System. As per your chosen guest operating system, it shows “what the minimum RAM required to run this OS is?”.
I configured here 3104 MB RAM which is around 3 GB; you can set what you want, and click on the “Next” button for further process.
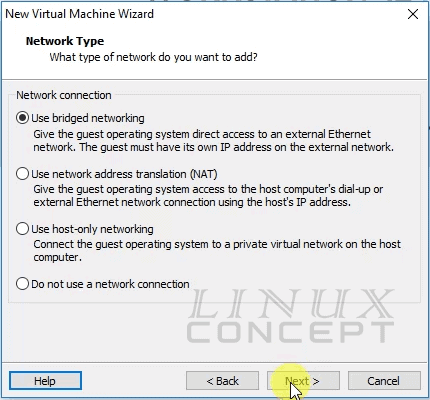
In this configuration screen of VMware workstation, we are configuring networking for the new virtual machine.
There are multiple options for configuring Networking like below:
* Use bridged networking
* Use network address translation (NAT)
* Use host-only networking
* Do not use a network connection
The first option “Use bridged networking” is used to connect the virtual machine with a network through bridged and it gets IP directly from the network device. So after connection your host and guest in the same network.
The second option, “Use network address translation (NAT)” will get NAT connection through your host network. In this case virtual machine network connection through host network, where host release an IP for a virtual machine but your host and guest machine using the same IP for connection. So virtual machine all network connection through via host network.
The third option, “Use host-only networking” is used to connect the virtual machine with host only. In this connection virtual machine only connect with the host machine but not from the internet or wide area network.
The last option, “Do not use a network connection” is used when we don’t want use networking in the virtual machine.
I choose here “Use bridged networking” to connect with internet, host and another host also in the same network.
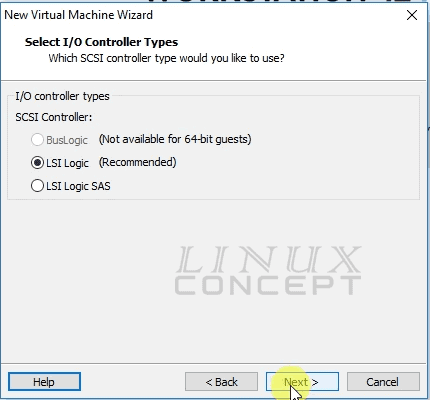
This new screen to configure I/O controller types, where also we have three option like
- BusLogic
- LSI Logic
- LSI Logic SAS
As you can see in the below picture “BusLogic” is not available for 64-bit Operating System, and I choose Debian 8 64-bit ISO, so this option is not available for this virtual machine.
Another option “LSI Logic SAS” is for the disk when we use from SAS storage, but here I am not using SAS disk, so this is not the option for me.
One more option is “LSI Logic” which is for inbuild disk, and I am using the same disk, so I choose this option here.
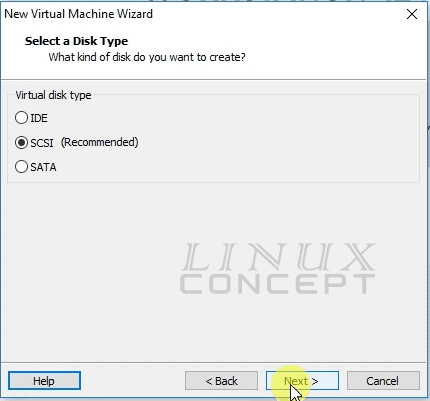
The new screen will appear for selecting Disk type, as I am using virtual disk and SCSI is recommended I choose “SCSI”.
You can choose your disk type here, and click on the “Next” button for further process.
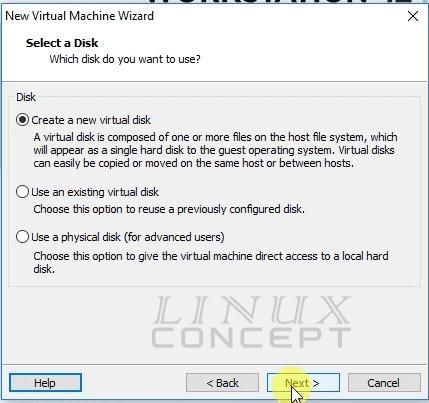
In this screen you configure Disk with these options:
- Create a new virtual disk
- Use an existing virtual disk
- Use a physical disk (for advanced users)
The first option “Create a new virtual disk” is used to create a new virtual disk on your system which will be formatted by the virtual machine and install a new operating system.
The second option “Use an existing virtual disk” used to using already created virtual disk file system. This option is useful if we want to use the previously built virtual machine in the different system or taking backup from the virtual disk, etc.
Third option “Use a physical disk” is for an advanced user, because using this option we store the virtual machine in physical disk and storage will use the direct physical disk.
I select “Create a new virtual disk” as I am going to create a new virtual disk for this new virtual machine.
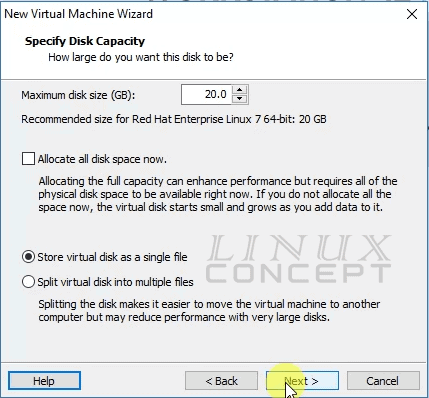
In this window, you can configure a virtual disk size. I have set 20 GB for virtual disk and choose “Store virtual disk as a single file” to use a single file for the virtual disk.
I have also not selected “Allocate all disk space now” to assure disk storage as per requirement, where it not use all storage from the beginning and use storage when it is required.
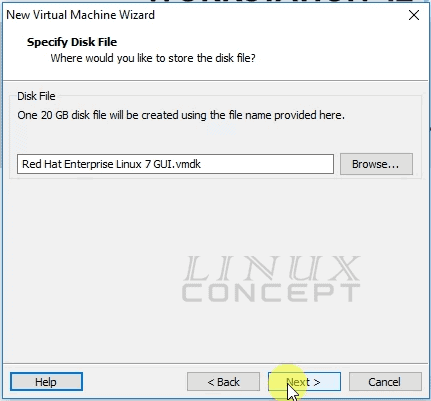
The next configuration window gives the option to choose your virtual disk file name.
I configure “Red Hat Enterprise Linux 7 GUI.vmdk” as my virtual disk file name; you can set your desired name.
Now, you will get a virtual machine configuration summary. Here you can configure virtual machine’s hardware again if required by clicking on the “Customize Hardware” button.
And click on the “Finish” button to complete the virtual machine configuration.
After completing the configuration of a virtual machine, you will get a screen like the below image.

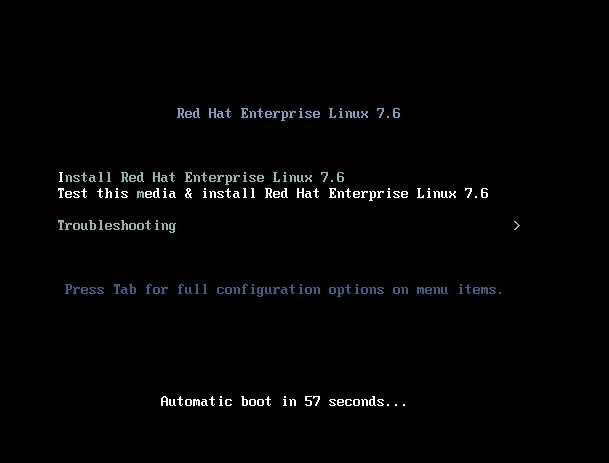
Now when I boot this virtual machine, it will boot through RHEL 7 iso file and get the screen like below.
You will get three option here:
- Install Red Hat Enterprise Linux
- Test this media & install Red Hat Enterprise Linux
- Troubleshooting
The first option to start installing the OS immediately.
The second option will test your installation media (CD, DVD, or iso file) before starting the installation.
The last option “Troubleshooting” you can use if any issue with the installed OS.
I choose here the second option, so it can check the iso file before starting the installation.
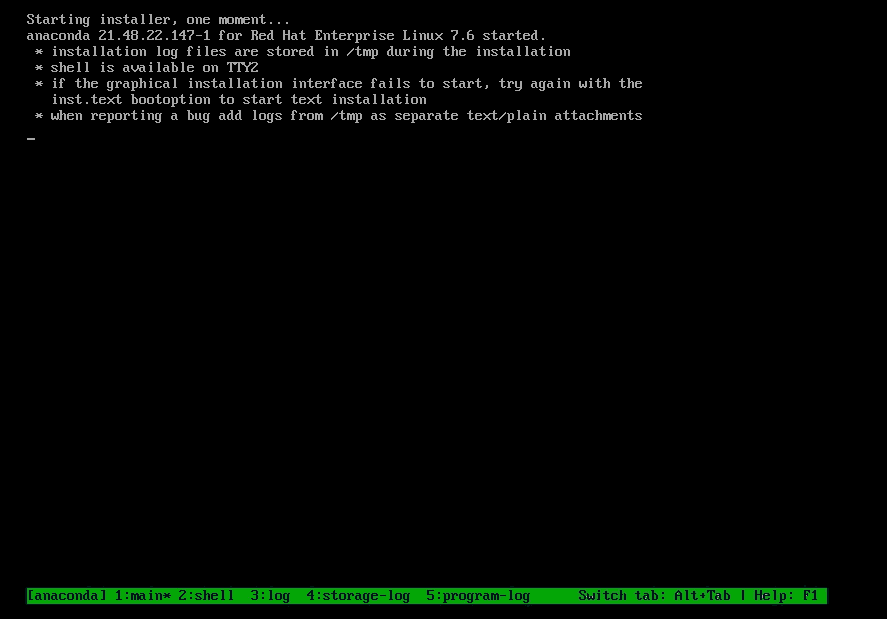
A new screen appears with the installation process, anaconda as RHEL installer initialized for the further installation process.
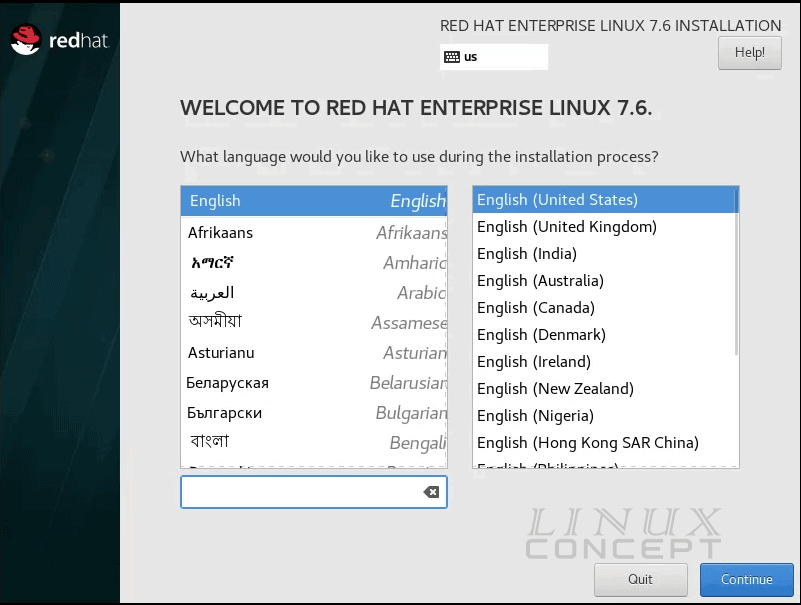
After the anaconda process, you will get GUI for RHEL installation. In this screen, an option is coming to choose your language.
As I am okay with English, I choose English (United States). You can select your language and click on the “Continue” button for the next process.
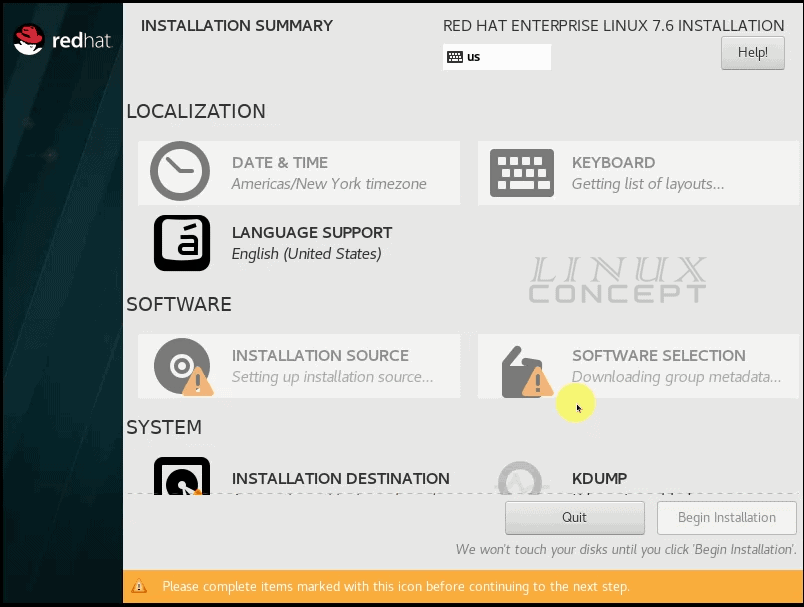
The Next screen is showing all configuration dependencies for RHEL 7 installation. Need to complete all configuration to enable the “Begin Installation” button.
Here I am configuring “Installation Destination”, to configure it click on it and it will move you into a new screen.
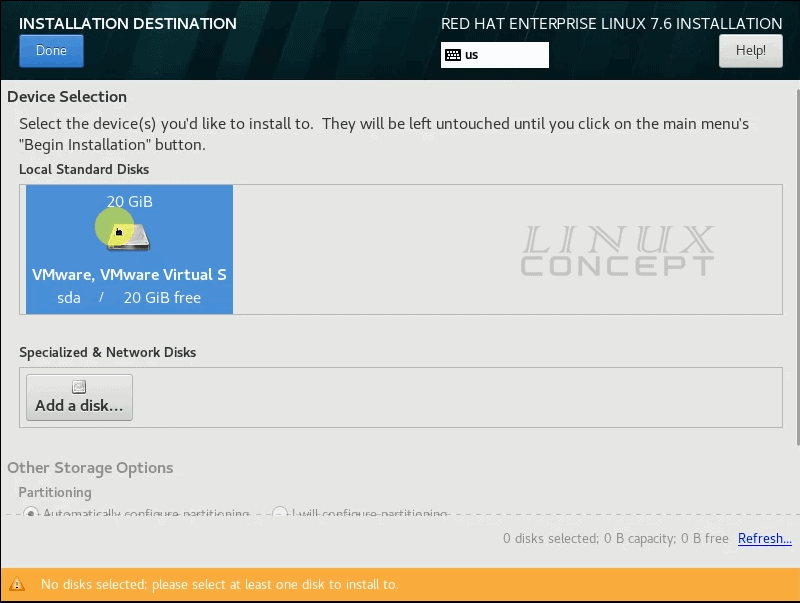
Here, It is showing all virtual disk attached with this virtual machine.
As I configured only one disk, it is showing only one drive which I select and click on the “Done” button.
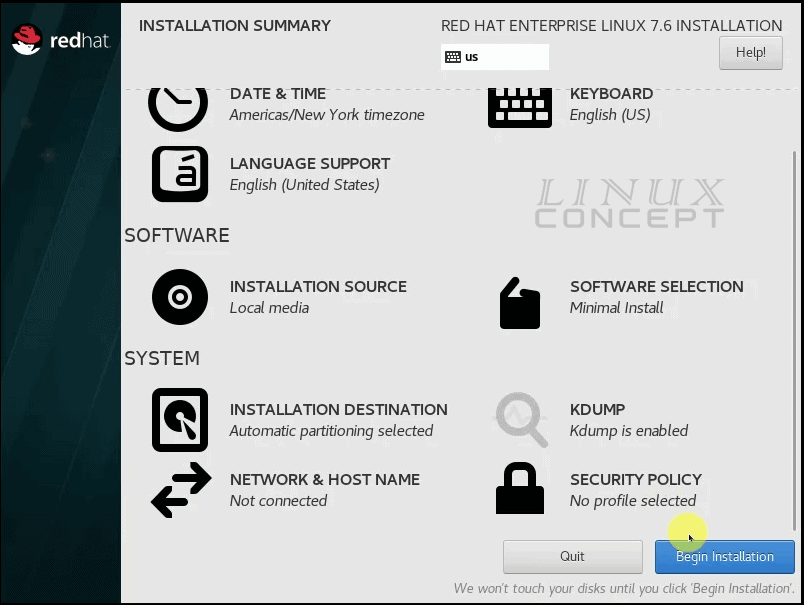
After configuration of all dependencies, “Begin Installation” button will enable.
Click on the “Begin Installation” button to start RHEL 7 Installation.
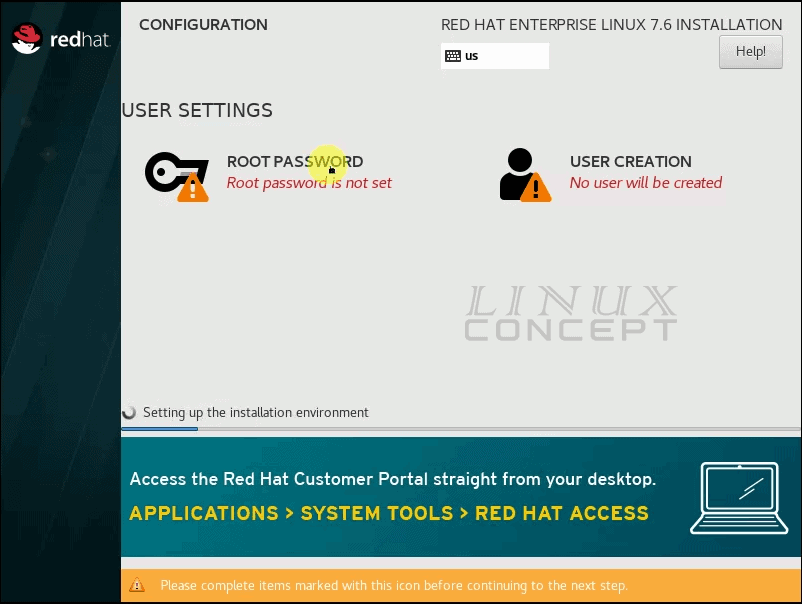
The new will appear with the installation process, and it is also showing the root password, and new user creation is pending.
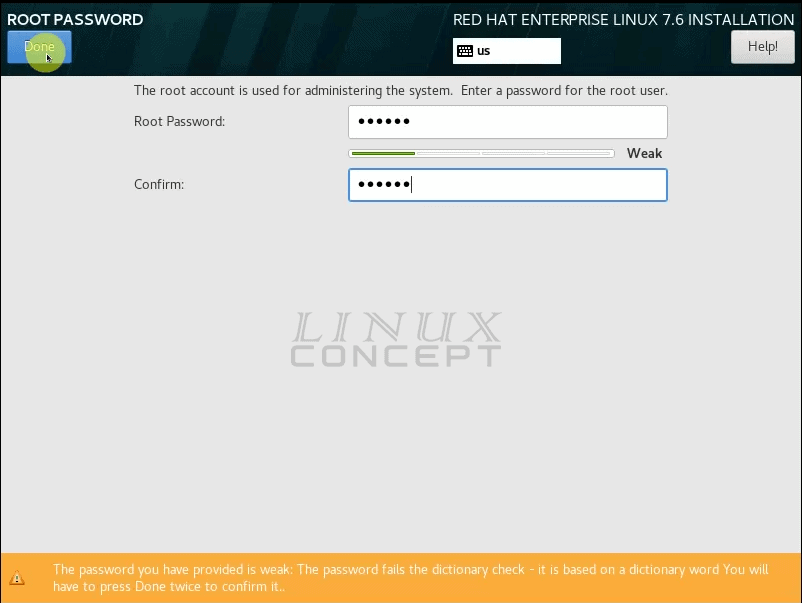
To configure the root password, click on the “ROOT PASSWORD” option and it will move you into the next screen for setup the password for the root user.
In this window set the root password using fill the form for password and confirm the password and then click on the “Done” button to go to the installation process window.
RHEL 7 installation will take some time.
When RHEL 7 get installed into the virtual machine, the “Reboot” button will get appear.
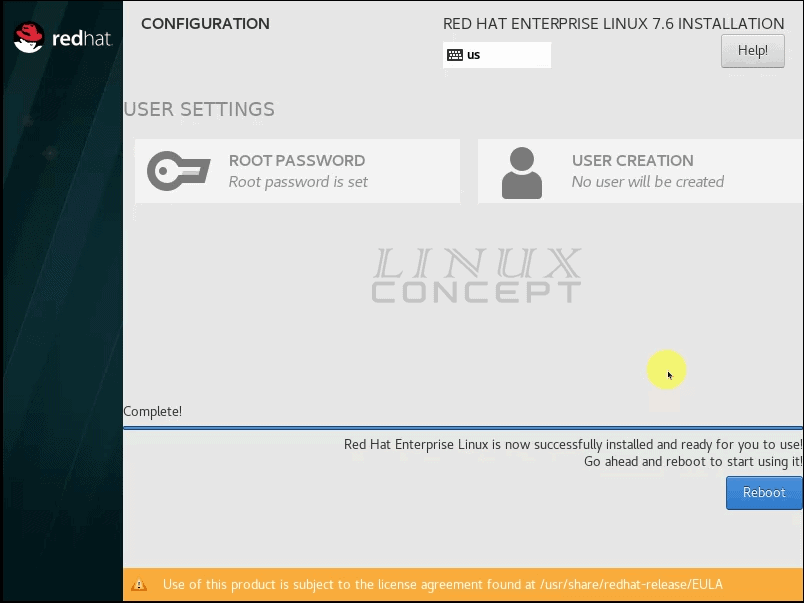
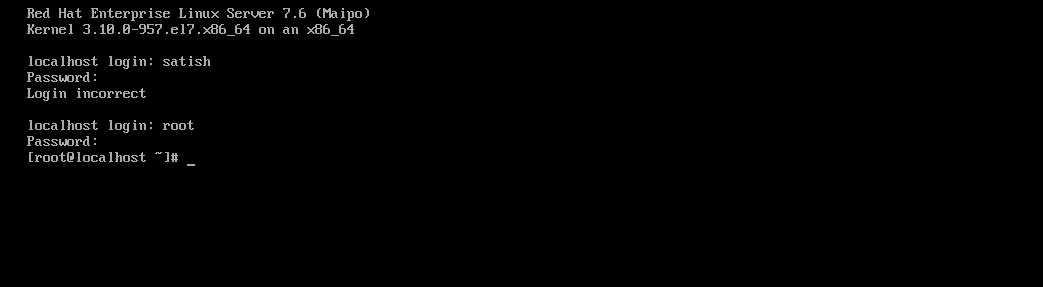
when you click on the “Reboot” button, your machine will reboot and start with a login screen where you can log in into RHEL using username and password.
0 Comments