
MySQL is the most popular and highly used Open source relational database management system; it is no more available with the default repository of Ubuntu Operating system after releasing of version 8.
Now MariaDB has become the default database management system for new Ubuntu Operating system, and it is backward compatible and perfect replacement of MySQL Database System.
In this tutorial, the article will show you how to install MySQL Server into the Ubuntu 18.04 Operating system using MySQL APT Repository.
I suggest you if your application has specific requirement of MySQL database then only install MySQL server otherwise you can stick with MariaDB the default database management system in Ubuntu 18.04.
Prerequisites
Before following the below steps to install MySQL, make sure you have Ubuntu 18.04 installed a system with a user who has sudo privileges.
Install MySQL
To install MySQL on Ubuntu 18.04 machine, follow below procedure:
To install MySQL into Ubuntu 18.04 Operating System, you need to add MySQL APT repository, to install the latest repository need to go to the MySQL repository download page and download the latest release package by using the following command:
$ wget http://repo.mysql.com/mysql-apt-config_0.8.13-1_all.debAfter completing the download, install the release package with the following command:
$ sudo dpkg -i mysql-apt-config_0.8.13-1_all.debYou will get the below configuration menu to select MySQL version you want to install.
MySQL 8.0 is pre-selected for this repository, if you want to install another version of MySQL, choose MySQL Server & Cluster (Currently selected: mysql-8.0) and select your preferred version of MySQL.
As we are going to install MySQL with version 8.0, Select the last option OK and press Enter to save the configuration.
To install MySQL on Ubuntu 18.04 Operating system first update the repositories package list by using the following command:
$ sudo apt updateAfter updating the package, you can start the MySQL installation by using the following command:
$ sudo apt install mysql-server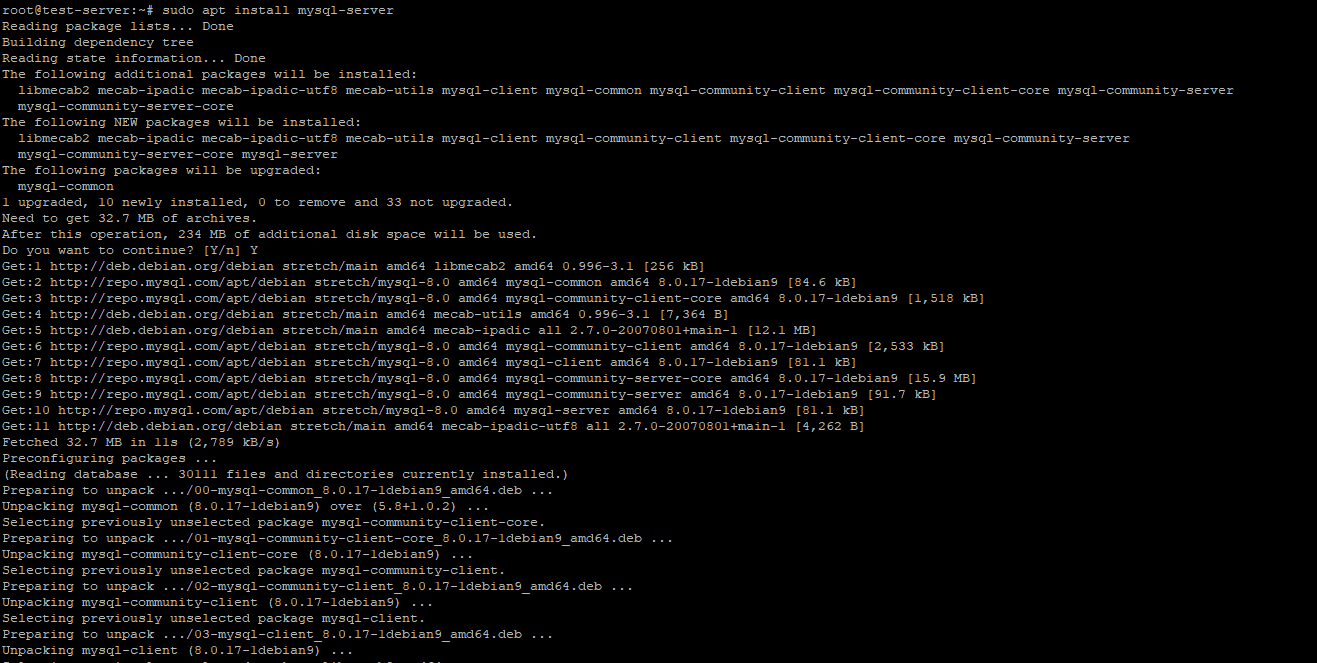
The installation process will prompt you to enter the MySQL root password, don’t set password right now we will do it in next session.
Now, you will get a new screen for authentication plugin message for MySQL 8, before selecting the default MySQL 8 authentication to make sure your application is supporting it or not.
You can check the MySQL service status by using the following command:
$ sudo systemctl status mysql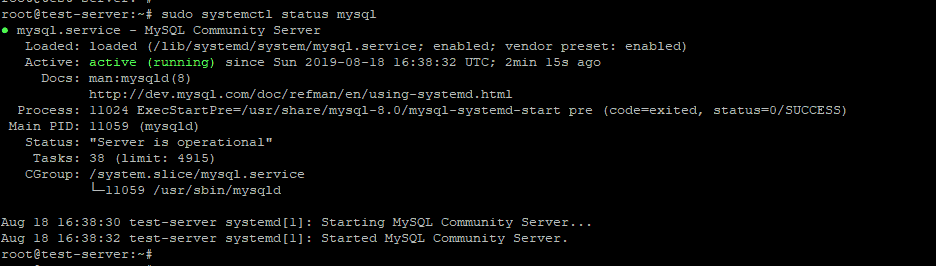
$ sudo mysql_secure_installation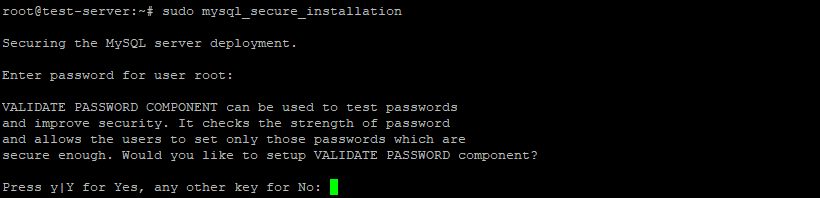
The screen will have asked you to configure the VALIDATE PASSWORD PLUGIN, which is use to check the MySQL password strength. It defines the password policy validation in three levels low, medium, and strong. If you don’t want to set the validate password plugin press the Enter button.
Next screen will ask you to set the root password:

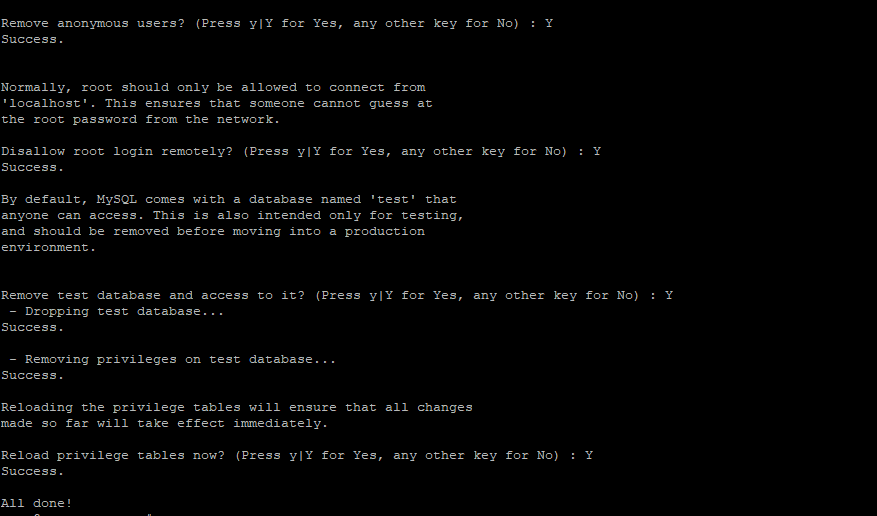
Once root password is set the script will ask you to remove the anonymous user, restrict root access to the localhost and remove test database, and you should answer Y (yes) for all the question to secure the MySQL.
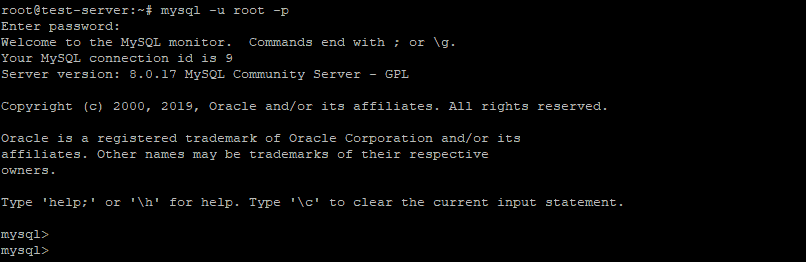
$ mysql –u root –pNow you will get the screen to enter the root password which you had set when the mysql_secure_installation script was running.
After entering the password you will get into the MySQL shell, and your screen will like below image:
Conclusion
Now you learned the process to install MySQL server on Ubuntu 18.04 Operating system. You also know how to get into the MySQL shell to perform database commands and operations.
If you have any doubt or issue related with installation, feel free to leave comment below.
0 Comments