
MariaDB maintained and developed by the MariaDB Foundation, including some of the MySQL developers.
Ubuntu new release is coming with MariaDB default database system which is replacement of MySQL.
In this tutorial article, we will learn the methods to install MariaDB into Ubuntu 17.04 operating system.
There are two methods to install MariaDB into Ubuntu machine; one is use to directly install to Ubuntu repository and another to use MariaDB repository to install the latest MariaDB package.
Prerequisites
Before starting MariaDB install into Ubuntu machine, make sure you have a Ubuntu 17.04 running machine and a user to login into the system with sudo privileges.
Install MariaDB on Ubuntu 17.04 Server
You should follow below steps for MariaDB installation process on Ubuntu 17.04 Server:
Step 1 – Update Ubuntu 17.04 Repository
Before installing any new package on Ubuntu 17.04 operating system first need to update the repository package list, which is performed by the following command:
$ sudo apt update$ sudo apt install mariadb-server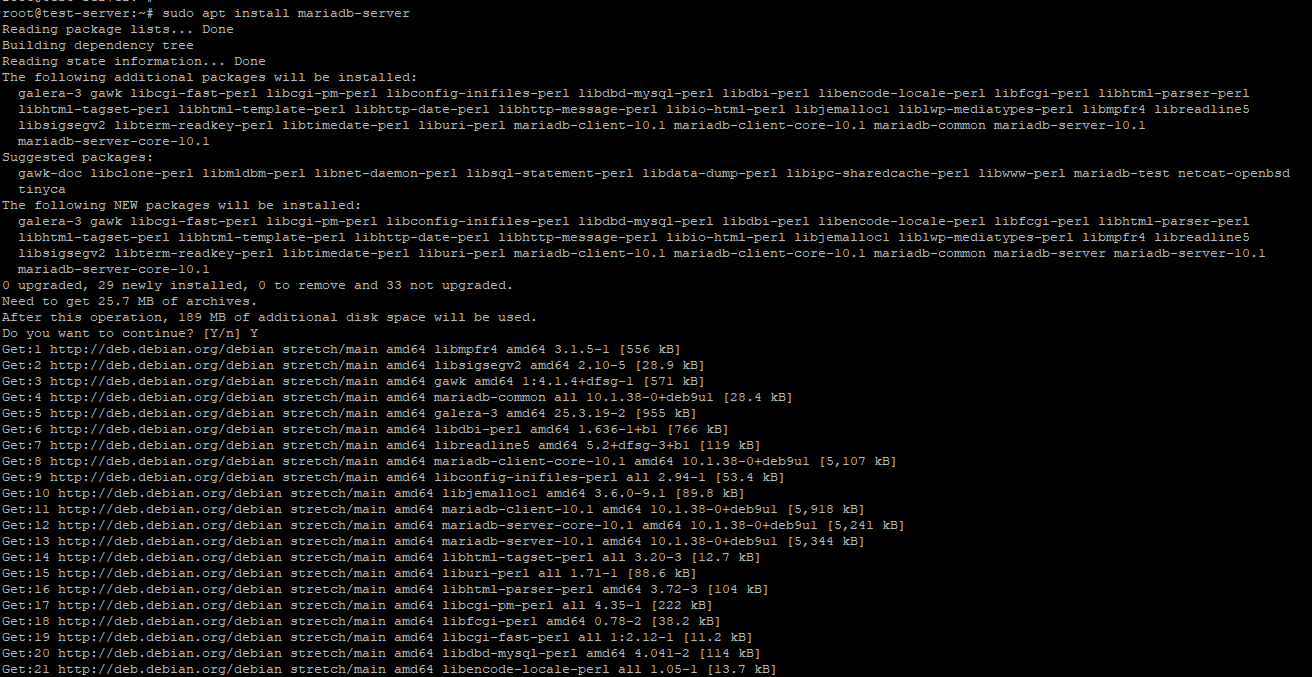
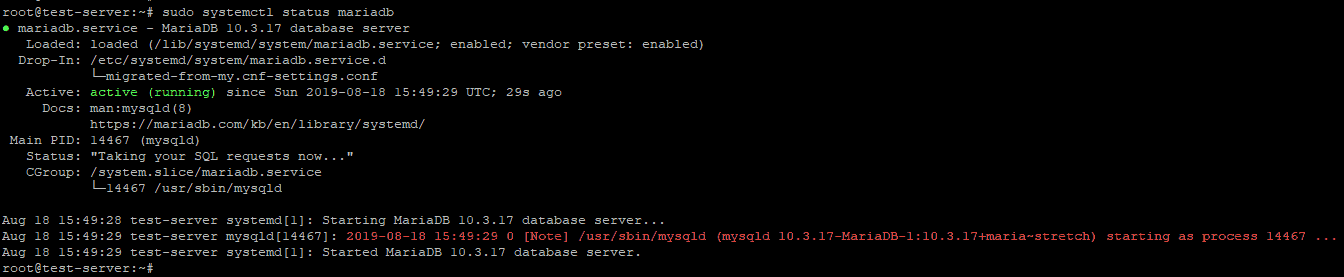
$ sudo systemctl status mariadbIf MariaDB is installed and running properly, you will get output with Active and running status like below image.

MariaDB Install on Ubuntu 17.04 using MariaDB Repository
If you want to install MariaDB latest version into your Ubuntu 17.04 system which not released into default Ubuntu 17.04 repositories, you can use MariaDB repository directly to install Latest MariaDB.
To install the Latest release of MariaDB on Ubuntu 17.04 using MariaDB repository follow below steps:
$ sudo apt install software-properties-common dirmngr
$ sudo apt-key adv --recv-keys --keyserver http://keyserver.ubuntu.com:80 0xF1656F24C74CD1D8
$ sudo add-apt-repository 'deb [arch=amd64,i386,ppc64el] http://mirrors.dotsrc.org/mariadb/repo/16/ubuntu stretch main'$ sudo apt update
$ sudo apt install mariadb-server$ sudo systemctl status mariadbIf MariaDB is running correctly you will get the screen with Active and running status as below image:
MariaDB Secure Installation
$ sudo mysql_secure_installationThis script will ask you to set the root user password, restrict root access to localhost, remove anonymous users, and remove the test database.
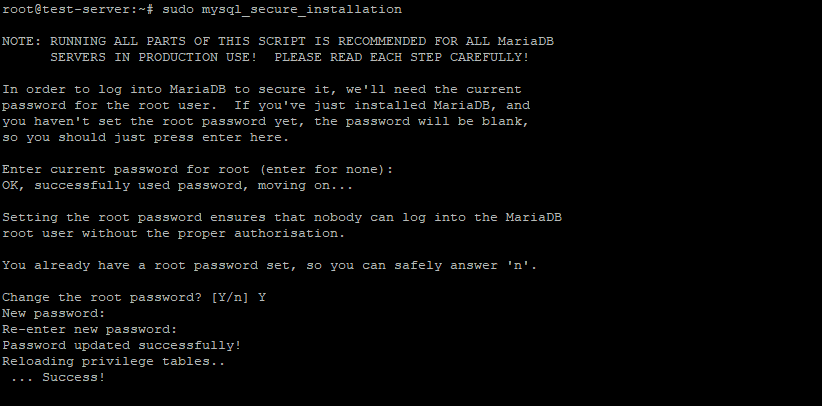
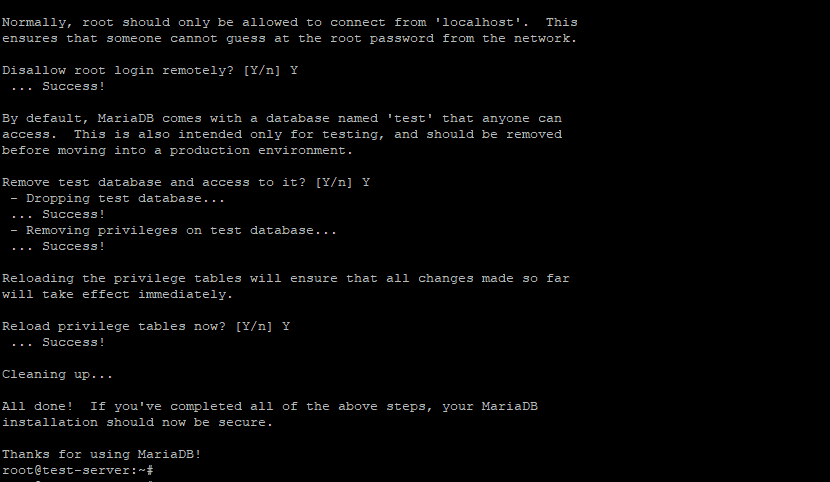
After completion of the script, it will reload privilege tables, and all the changes take effect immediately.
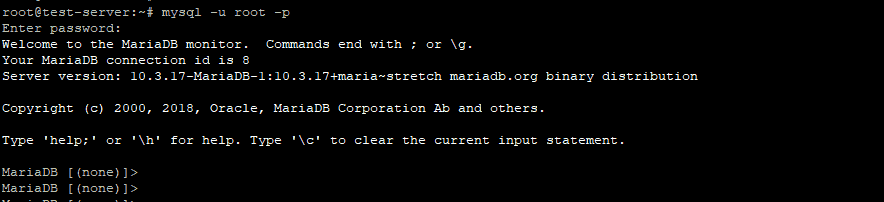
MariaDB Connection through CLI
$ mysql –u root –pThe above command will connect with MariaDB shell using the root user. The next screen will appear to enter the password for user root. Once you get the connection with MariaDB shell you will get the screen as shown below image:
Conclusion
Now, we learned how to install MariaDB into Ubuntu 17.04 machine. We also learned to install MariaDB directly from MariaDB repository, how to secure MariaDB installation and connect process from CLI.
If you have any doubt or issue with installation, feel free to leave comment below.
0 Comments