
Docker is an application use to simplify the application management process in containers, where containers use to run the application with the resource-isolated process. Docker allows you to build, test and deploy an application to run virtually anywhere.
It is similar to a virtual machine, more flexible, more resource-friendly, more portable, and more host operating system dependent. It is use to run a single application with a platform environment which includes everything needed by software to run.
Nowadays, Docker known as a modern software management platform includes DevOps continuous integration, deployment and production management.
In this tutorial, you will learn to install Docker on an Ubuntu 18.04 Linux system.
Docker packages are available under the Ubuntu 18.04 repositories, but it may not have the latest version. So, we will install the latest Docker here by using Docker’s official repositories.
Installing Docker on Ubuntu 18.04
The Docker installation on Ubuntu system or server is straightforward, enable the Docker repository and install packages after import the repository GPG key.
In the first step, we will update the package list and install the dependencies required to add new HTTPS repository:
$ sudo apt update
$ sudo apt install apt-transport-https ca-certificates curl gnupg-agent software-properties-common
Now, import GPG key of Docker’s repository using the below curl command:
$ curl -fsSL https://download.docker.com/linux/ubuntu/gpg | sudo apt-key add -After importing GPG key need to add Docker’s APT repository using the following command:
$ sudo add-apt-repository "deb [arch=amd64] https://download.docker.com/linux/ubuntu $(lsb_release -cs) stable"Now, the Docker repository enabled in your system; you can install any version of Docker that is available in the current repositories.
Install latest version of Docker
To install the latest version of Docker you can use the below command, but if you want to install any specific version of Docker to install, you should skip this and go to the next one.
$ sudo apt update
$ sudo apt install docker-ce docker-ce-cli containerd.io
Install specific version of Docker
To install a specific version of Docker, you should have a list of the available version of Docker in your repository. To get the list of the available version of Docker, use the following command:
# sudo apt update
# apt list -a docker-ce
You will get the available version of Docker in the output of the command which is available in the second column.
output:
docker-ce/focal 5:19.03.9~3-0~ubuntu-focal amd64
You can install specific version of Docker in your Ubuntu machine by mention version using “=<version>” after the package name, as shown below example:
$ sudo apt install docker-ce=<VERSION> docker-ce-cli=<VERSION> containerd.ioAfter successful installation, Docker service will start automatically. To verify the Docker service status use following command:
$ sudo systemctl status dockerThe output should look like below:
output:
● docker.service - Docker Application Container Engine
     Loaded: loaded (/lib/systemd/system/docker.service; enabled; vendor preset: enabled)
     Active: active (running) since Thu 2020-05-21 14:47:34 UTC; 42s ago
...
When a new version of Docker release for your machine you can update using following standard commands:
$ sudo apt update && sudo apt upgradeIf you don’t want to update Docker automatically, you should mark it as held back to prevent from being updated using the following command:
$ sudo apt-mark hold docker-ceExecute Docker Commands as a Non-root user
The Docker commands are executable by only root user and a user with sudo privileges.
If you want to execute Docker command by a non-root user, first you need to add that user to the docker group that created during Docker CE package installation.
You can add a user in the docker group using the following command:
$ sudo usermod -aG docker $USERYou should replace “$USER” with the username.
Create a new user session to refresh the group membership, and the user is ready to execute the docker command.
Verify Docker Installation
To verify the Docker installed in the system, you can execute the docker command without sudo, and we’ll run a test container:
$ docker container run hello-worldThe above command will download a test image if it is not available locally. After downloading run it in a container, print a “Hello from Docker” message and exit.
You will get the output similar to below:
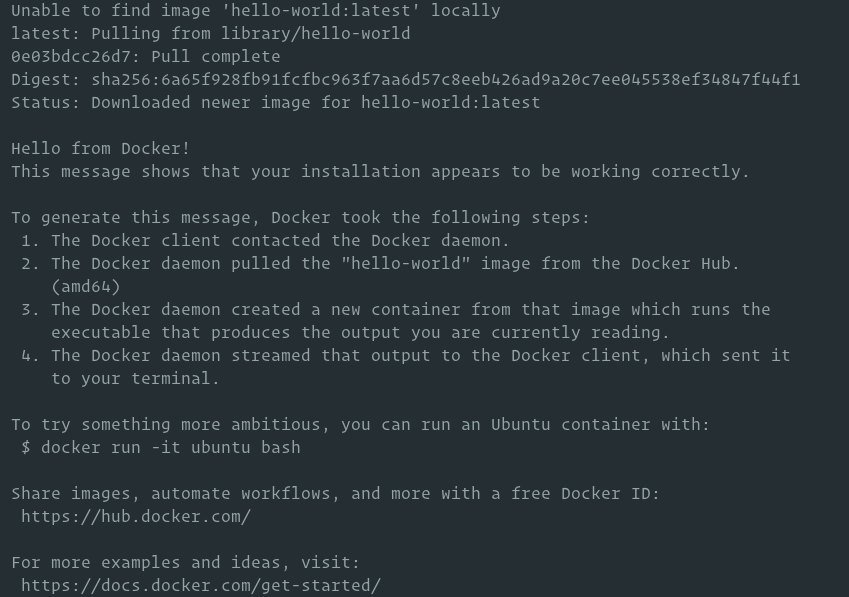
This test container will stop after printing the message, as it is not having a long-running process.
Docker commands pull images from the Docker Hub; it is default cloud-based Docker’s registry service which has all other functionalities including stores Docker images in Private and Public repositories.
Uninstalling Docker
To uninstall Docker from the machine, always remove all containers, images, volumes, and networks.
You can stop all running containers and remove all docker objects using the following commands:
$ docker container stop $(docker container ls -aq)
$ docker system prune -a --volumes
Now, you can uninstall Docker package like any other packages from the Ubuntu system using the apt package manager:
$ sudo apt purge docker-ce
$ sudo apt autoremove
Conclusion
Now, you have learned to install Docker on Ubuntu 18.04 Linux machine and also learned to execute docker command and run a docker container. You can learn more about docker by following official Docker documentation.
If you have any questions related to docker, please leave a comment below.
0 Comments