
Prerequisites
Before starting the installation tutorial, make sure you have a Ubuntu 16.04 running machine and user access to log in to the machine with sudo privileges.
CouchDB repository Enable
The CouchDB database’s “.deb” package use to install into Ubuntu Operating system which is available from Official repository of CouchDB.
So, to install CouchDB on Ubuntu machine first need to add and enable the official repository on the system, which can be done by run following commands:
$ echo "deb https://apache.bintray.com/couchdb-deb bionic main" | sudo tee -a /etc/apt/sources.list
$ curl -L https://couchdb.apache.org/repo/bintray-pubkey.asc | sudo apt-key add -
Install CouchDB on Ubuntu 16.04
After enabling the repository on Ubuntu system, you can update the repository package list and install CouchDB, as shown below:
$ sudo apt update
$ sudo apt install couchdb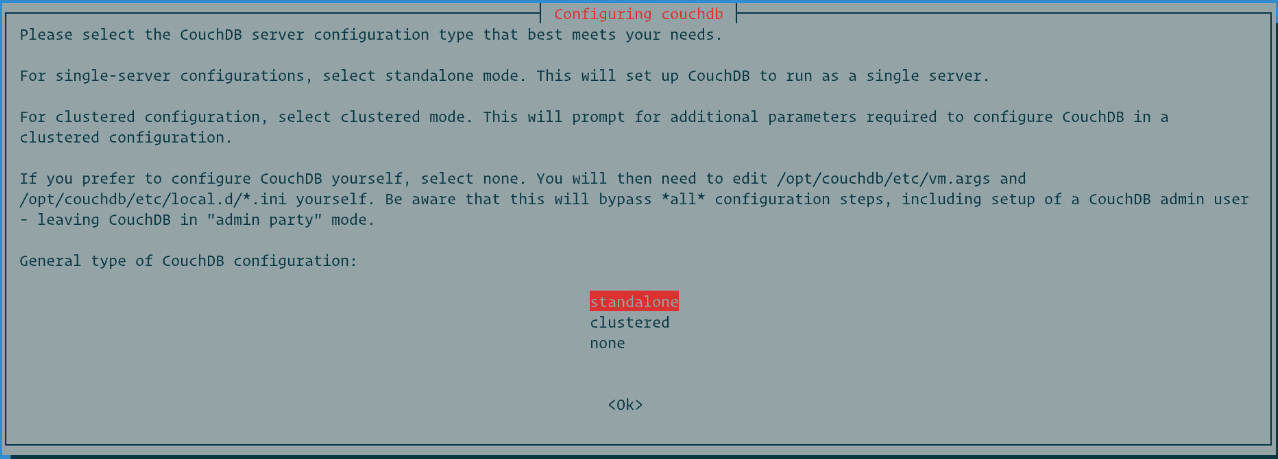

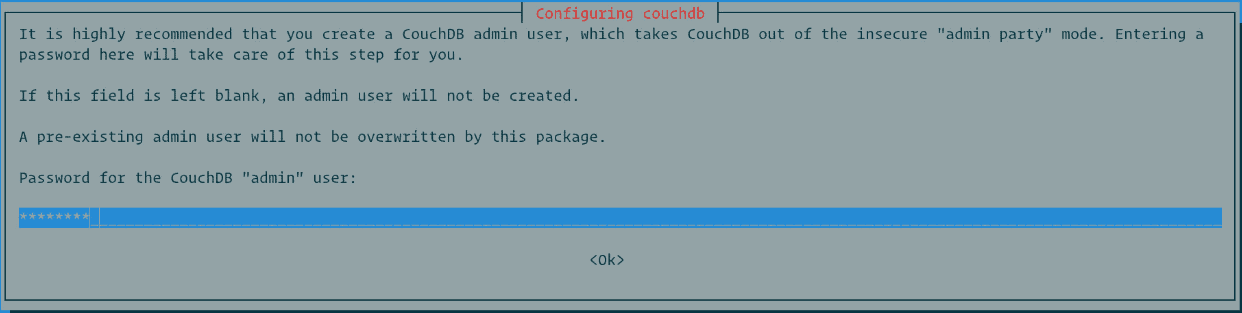
Now, time to set an admin password to access CouchDB. It is highly recommended to create an admin password which will make CouchDB secure for authentication. If you leave password blank on this screen, the admin user will not create.
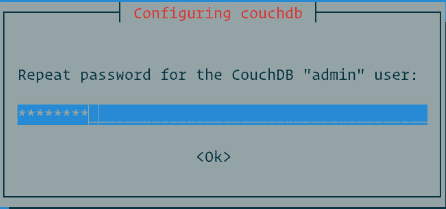
After confirming the password, CouchDb installation will continue.
Verify CouchDB Installation
$ curl http://127.0.0.1:5984/The output will look like below format:
{
   "couchdb":"Welcome",
   "version":"2.3.1",
   "git_sha":"c298091a4",
   "uuid":"370903b5400643c2979838f5b68348c1",
   "features":[
      "pluggable-storage-engines",
      "scheduler"
   ],
   "vendor":{
      "name":"The Apache Software Foundation"
   }
}
You can verify CouchDB installation on GUI also by access the IP address on the browser, as shown below:
http://127.0.0.1:5984/_utils/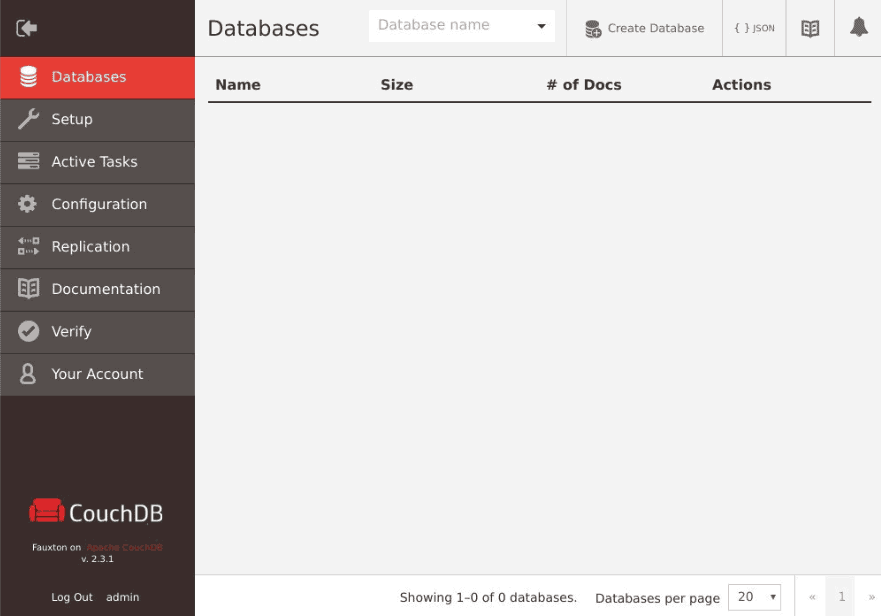
Conclusion
Congratulation, Now you learned “How to install CouchDB on Ubuntu 16.04 machine?” and you can also verify if already installed CouchDB in any Ubuntu system. You can learn more about CouchDB using Apache CouchDB Documentation.
0 Comments